Live Editing Guide
Welcome to the Hub Framework live editing guide! This guides aims to help you get setup with the framework’s live editing capabilities - which can be used for rapid prototyping without needing to recompile any code.
Table of contents
Introduction
We built live editing into the Hub Framework to enable developers, designers and other people involved in creating new UIs to more quickly be able to prototype new concepts and try out new ideas. Using the hublive command line tool, together with your favorite text editor, you can easily create new UIs using JSON, without needing to write or compile any code.
Enabling live editing in your app
Live editing is opt-in, so you’ll need to set it up in your application before you can start using it. In the demo app that the Hub Framework comes with, live editing is already set up (as long as the app is compiled for DEBUG). Enabling live editing is easy, and involves three simple steps:
Start HUBLiveService
The application that you wish to live edit in needs to start the Hub Framework live service through the HUBLiveService API. This is done with a single method call:
[hubManager.liveService startOnPort:7777];
Once called, the live service will start accepting connections on the given port, which enables the hublive command line tool to connect to it.
Implement HUBLiveServiceDelegate
To get notified whenever the live service has created a view controller for live editing, you need to assign an object to be its delegate, by conforming to HUBLiveServiceDelegate.
Push any created live editing view controllers onto your application’s navigation stack
Once the live service has created a view controller, push that view controller onto the navigation stack:
- (void)liveService:(id<HUBLiveService>)liveService
        didCreateViewController:(HUBViewController *)viewController
{
    [self.navigationController pushViewController:viewController animated:YES];
}
That’s it - your app is now ready to be live edited!
Running hublive
Once your app has been setup for live editing, run the hublive command line tool to begin. You can build the tool using the HubFrameworkLive Xcode project (located in the /live folder in the repository). You can either run hublive directly from Xcode, or archive it and put the built product somewhere accessible from your command line (such as /usr/local/bin).
When running hublive, you can give it either 1 or 2 arguments. The first argument is a path to a JSON file that you wish to use for live editing. The second (optional) parameter is the port number that you wish to use to connect to your application (defaults to 7777, and should match the port you gave when setting up HUBLiveService). You can supply the arguments either on the command line (when running hublive there), or through Xcode (by adding the arguments to the HubFrameworkLive scheme).
Here’s an example where we start live editing a file using a custom port:
$ hublive ~/desktop/live.json 8765
Before runnning hublive, ensure that your application is already running in the iOS simulator.
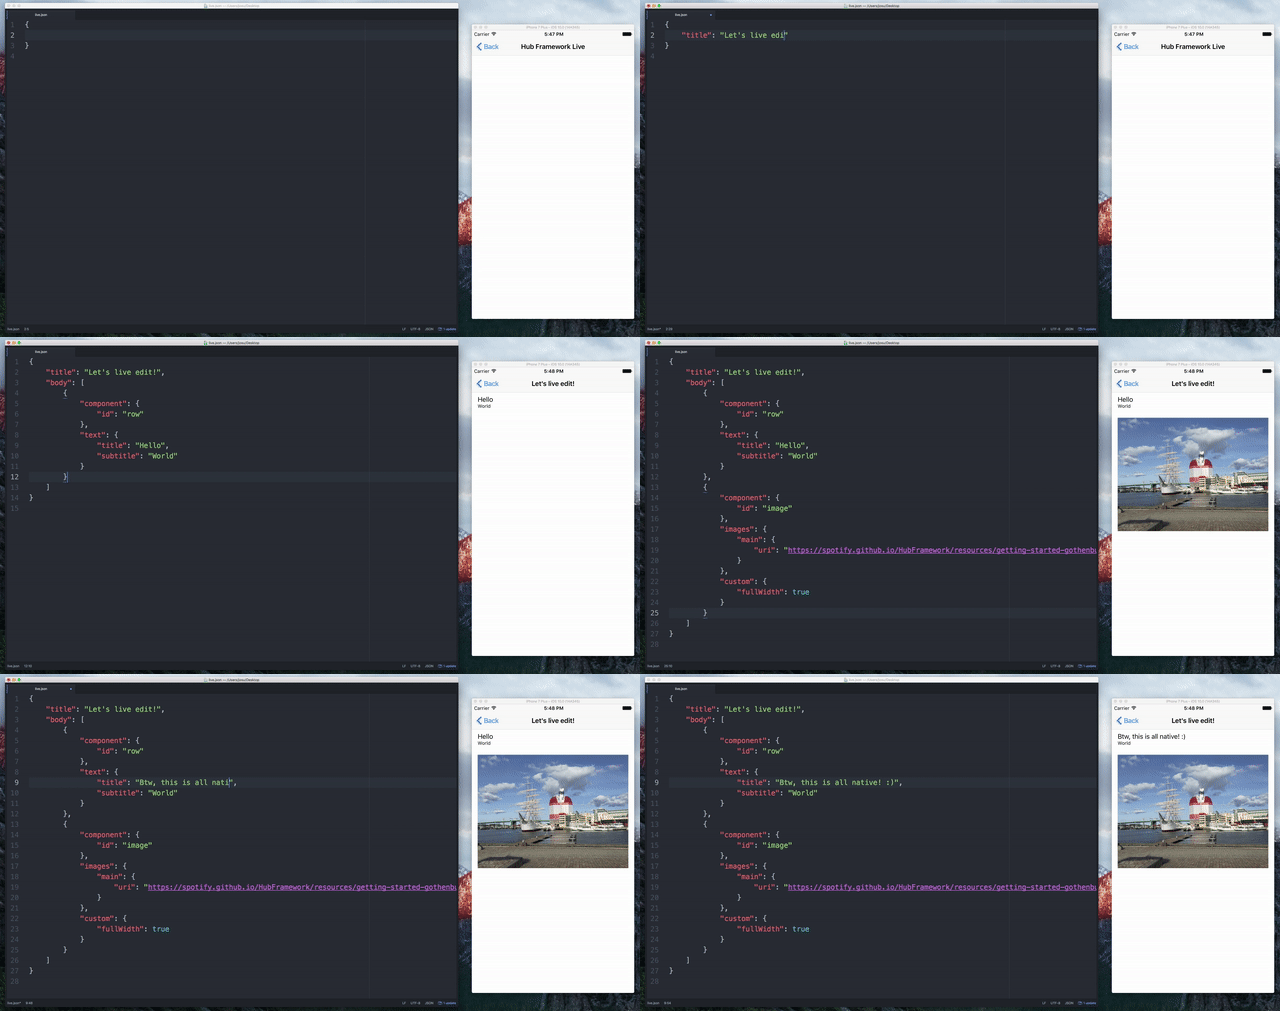
As soon as you start hublive, a new view controller will be pushed in your app, and as soon as you change and save your JSON file - that view controller will be updated with new content. Here is a simple demo showing it running:

 View on GitHub
 Install in Dash
 Live editing guide Reference